Camtasia has been my tool of choice for most of the instructional videos I create, including the first therapy dog video. I began assembling this video by adding the narration track, and then I added music tracks downloaded from Storyblocks. I wanted music that was upbeat but not silly, and I went with two different ukulele tracks that matched the dogs’ energy and enthusiasm. Once the audio elements were in, I began adding video clips, starting from the first frame. Some parts of the video came together more quickly than others – we had gotten exactly the shots we wanted, and the timing of the clips worked as planned. Other segments took a little creative editing. In some cases, the shot we had envisioned didn’t exactly play out the way we had wanted, or when I put the usable footage in, it ended up not being quite long enough. Occasionally, I used different clips than I had originally planned, or slowed down the footage just enough that it wasn’t noticeable but allowed the footage to fill up the available space.
To my surprise, this portion of the creation process went really quickly. It helped that the semester had slowed down somewhat, so I had more time to devote to the project. Additionally, editing videos of dogs is just plain fun. I had to be careful not to spend too much time editing or else I’d get motion sick, but even so, the first draft of the video was completed in about 3 weeks.
When I had a first draft, I sent it to my colleagues for feedback. Asking for feedback on something I’ve spent so much time with is tough. However, I got some valuable feedback on some of the B-roll shots I’d incorporated, so I made those edits and sent it back to my colleagues for a second round. This time, Kayla pointed out something that I had grown so used to that I barely noticed it: shaky video. In a lot of cases, the camera had been hand-held without a stabilizer, so some of the clips were fairly shaky.
I experimented with a couple different ways to stabilize the video. I first tried stabilizing in Premiere, but I wasn’t satisfied with the results. I ended up using iMovie and stabilizing just enough to smooth things out but not end up with a weirdly-composed shot. This editing ended up taking several hours over a couple of days as I exported portions of the draft video from my desktop, stabilized them in iMovie on my laptop, and brought them back into the project file in Camtasia on my desktop. When it was finished, however, I was really pleased with the results and could see the difference between the final version and the previous drafts.
Once the video was stabilized and my colleagues had approved the final draft, I added it and the trailer video to YouTube, and then captioned the full video using the script. This approach makes captioning quick and easy, and the YouTube interface is fairly easy to navigate. I also added both videos to the Odyssey channel of Virginia Tech’s Kaltura interface and captioned them by exporting the caption files from YouTube and uploading those to the Kaltura video. Finally, I added the video to Odyssey, our learning object repository.
Celebrating the project’s completion
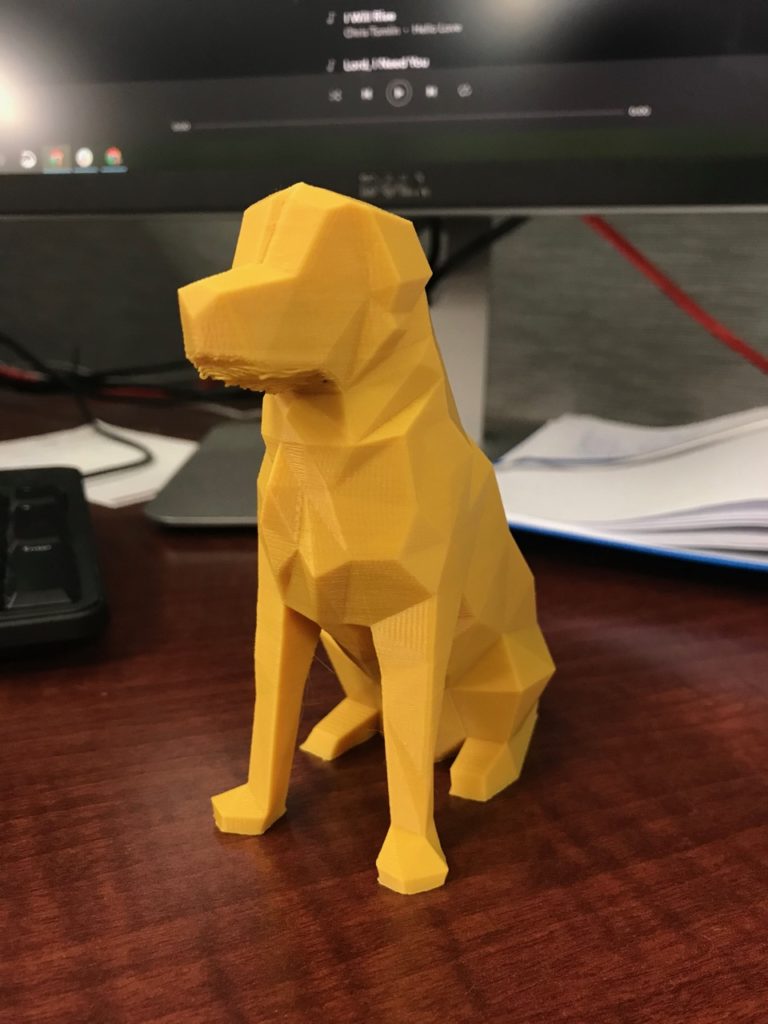
With the videos ready for viewing, our library social media manager scheduled Facebook, Instagram, and Twitter posts featuring the videos, with the trailer posted a week before the full video. Because so often we complete video projects and then turn directly to the next without celebrating the completed project, we planned a quick premiere party for the day before the video would be shared on social media. We reserved one of the library classrooms, got both human and dog snacks, and invited all studio staff and those who had been involved in filming, including Trent and the therapy dogs. It was really exciting to share the videos with everyone and have a chance to pause and appreciate the effort that had gone into the project. My colleagues also gifted me with a 3D-printed Moose, which now has a prominent place on my desk.
The entire project (about 4 minutes and 30 seconds of video) ended up taking about 45 hours of work, spread out from June to October. If I’ve done my math correctly, that works out to about 10 minutes of work per 1 second of finished video. I’d say that each of those minutes of work was worth it.
Wow, the inside peek at the video production process has really blown my mind! It’s amazing to observe the careful planning and commitment that went into putting it all together. The team’s dedication and inventive collaboration are evident in the final video. Congratulations to those who contributed for coming up with such a compelling piece of material!